前言
- 本指南适用于 Ubuntu/Debian 系统
- 所有命令默认以 root 用户执行
- 请确保服务器可以访问外网
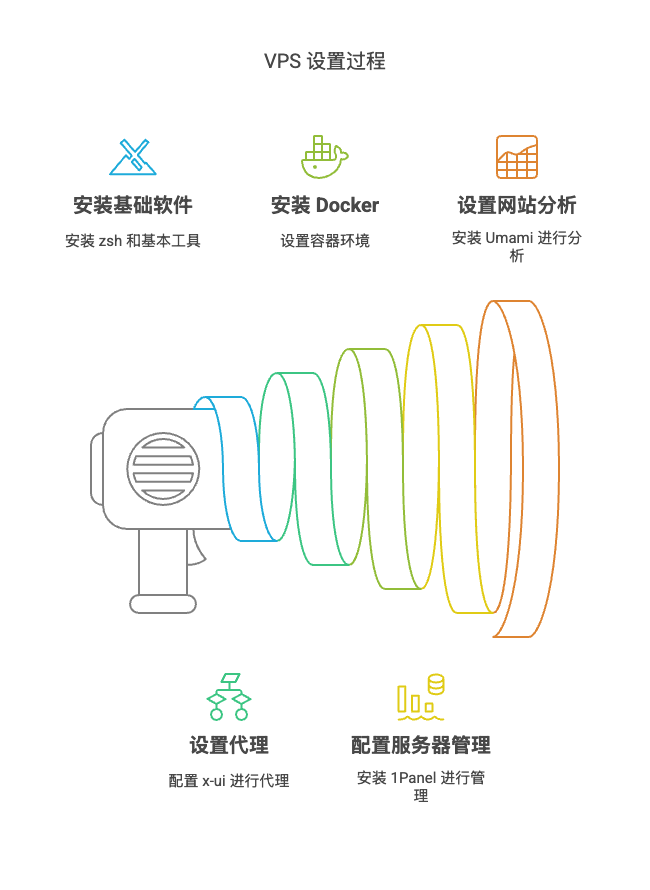
软件安装
1. 基础环境配置
zsh & oh my zsh
- 安装 zsh 并设置为默认 shell
sudo apt update
sudo apt install zsh
- 安装 curl 和 git
apt install curl -y
apt install git -y
- 安装 Oh My Zsh
sh -c "$(curl -fsSL https://raw.githubusercontent.com/ohmyzsh/ohmyzsh/master/tools/install.sh)"
- 配置 ~/.zshrc 文件
# 配置文件位于 ~/.zshrc,可通过修改此文件来设置主题和插件
# 常用配置:
# 设置主题
ZSH_THEME="agnoster"
# 设置插件
plugins=(git docker)
2. 服务器代理
x-ui
- 执行一键安装脚本
bash <(curl -Ls https://raw.githubusercontent.com/vaxilu/x-ui/master/install.sh)
-
访问管理面板 通过浏览器访问:
http://服务器IP:端口号示例:http://192.168.1.1:10000 -
更新 V2Ray 到最新版本 更新完成后系统将自动重启
-
配置 vmess 节点
-
安装 V2Ray 客户端 推荐使用 V2rayN,支持扫码连接或导入配置文件
3. 容器环境
docker & docker-compose
安全提示:
- 避免使用 latest 标签
- 定期更新镜像
- 注意容器权限配置
- 安装必要的依赖
apt install apt-transport-https ca-certificates curl software-properties-common -y
- 添加 Docker 官方仓库
sudo add-apt-repository "deb [arch=amd64] https://download.docker.com/linux/ubuntu $(lsb_release -cs) stable"
- 更新软件包索引
apt update
- 安装 Docker CE
apt install docker-ce -y
- 验证 Docker 安装
docker --version
- 安装 docker-compose
curl -L "https://github.com/docker/compose/releases/download/1.29.2/docker-compose-$(uname -s)-$(uname -m)" -o /usr/local/bin/docker-compose
- 设置 docker-compose 执行权限
chmod +x /usr/local/bin/docker-compose
- 验证 docker-compose 安装
docker-compose --version
4. 服务器管理
1Panel
- 执行一键安装脚本
curl -sSL https://resource.1panel.hk/quick_start.sh -o quick_start.sh && bash quick_start.sh
- 安装过程中需要设置以下信息:
- 安装目录(默认为 /opt)
- 面板访问端口(默认为 30840)
- 安全入口(建议自定义)
- 面板用户名(建议自定义)
- 面板密码(建议使用强密码)
安装成功之后,会有这样一段日志输出
[1Panel Log]:
======================= Starting Installation =======================
Set 1Panel installation directory (default is /opt):
[1Panel Log]: The installation path you selected is /opt

The port you set is:  30840
Set 1Panel secure entrance (default is xxxxxxx):
Set 1Panel panel user (default is xxxxxx):
Set 1Panel panel password,xxxxxxx
可通过以下地址访问面板:
http://服务器IP:30840
注意事项:
- 请妥善保存安装过程中的登录信息
- 确保设置的端口在防火墙中已开放
- 建议配置 SSL 证书确保安全访问
5. 网站统计
Umami
前置条件:
- 已安装 Docker 和 Docker Compose
- 已准备好域名并完成解析(指向服务器IP)
- 创建项目目录
mkdir umami
cd umami
- 创建 docker-compose.yml 文件
version: "3"
services:
  umami:
    image: ghcr.io/umami-software/umami:postgresql-latest
    ports:
      - "3000:3000"
    environment:
      DATABASE_URL: postgresql://umami:umami@db:5432/umami
      DATABASE_TYPE: postgresql
      APP_SECRET: replace-me-with-a-random-string
      NEXTAUTH_URL: https://your-domain.com # 替换为你的域名
    depends_on:
      db:
        condition: service_healthy
    init: true
    restart: always
    healthcheck:
      test: ["CMD-SHELL", "curl http://localhost:3000/api/heartbeat"]
      interval: 5s
      timeout: 5s
      retries: 5
  db:
    image: postgres:15-alpine
    environment:
      POSTGRES_DB: umami
      POSTGRES_USER: umami
      POSTGRES_PASSWORD: umami
    volumes:
      - umami-db-data:/var/lib/postgresql/data
    restart: always
    healthcheck:
      test: ["CMD-SHELL", "pg_isready -U $${POSTGRES_USER} -d $${POSTGRES_DB}"]
      interval: 5s
      timeout: 5s
      retries: 5
volumes:
  umami-db-data:
- 启动服务
docker-compose up -d
- 访问配置
- 访问地址:
https://your-domain.com - 默认账号:
admin - 默认密码:
umami
重要配置说明:
- 必须修改默认管理员密码
- 建议修改数据库密码(POSTGRES_PASSWORD)
- 设置随机的 APP_SECRET 值
- 配置 SSL 证书实现 HTTPS 访问
使用说明:
- 登录后创建网站
- 获取跟踪代码
- 将跟踪代码添加到需要统计的网站中
参考资料
- https://www.youtube.com/watch?v=SpxTFes1B8U
- https://hostalk.net/posts/vpstest_script.html
- https://github.com/awesome-selfhosted/awesome-selfhosted
- https://openalternative.co/
关注公众号 技术后花园 获取更多信息